Round Egg 3: First shader
written by druskus
on the
1st of July 2023
The next step is to draw something prettier. To begin with, we want to draw anything besides a green background. So we start by changing the background color :).
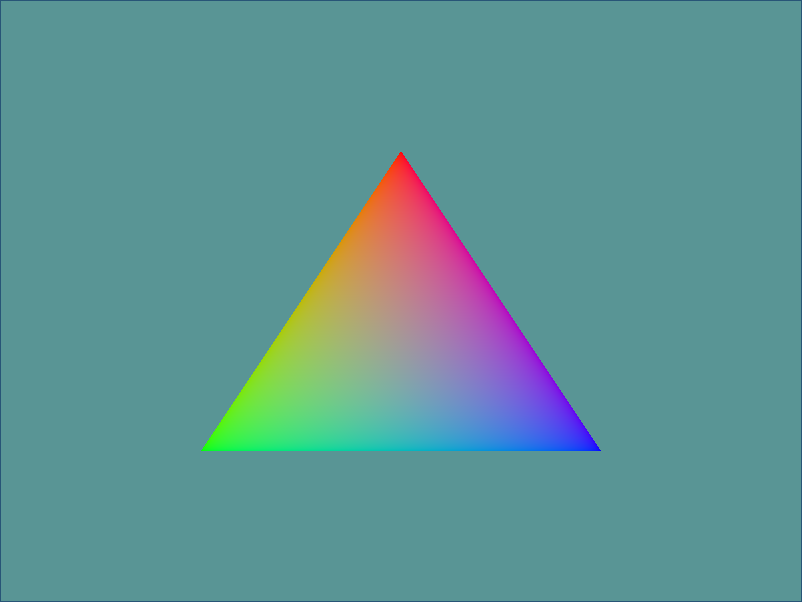
We can define a triangle as a set of vertices:
const VERTICES: &[Vertex] = &[
    Vertex {
        position: [0.0, 0.5, 0.0],
        color: [1.0, 0.0, 0.0],
    },
    Vertex {
        position: [-0.5, -0.5, 0.0],
        color: [0.0, 1.0, 0.0],
    },
    Vertex {
        position: [0.5, -0.5, 0.0],
        color: [0.0, 0.0, 1.0],
    },
];
Now, in order to be able to pass them to our GPU, first, we need to store them
in memory, and thus, we need to be able to describe their shape. For this, we
can make a method desc that returns the Layout of our VertexBuffer.
impl Vertex {
    const ATTRIBS: [wgpu::VertexAttribute; 2] =
        wgpu::vertex_attr_array![0 => Float32x3, 1 => Float32x3];

    fn desc<'a>() -> wgpu::VertexBufferLayout<'a> {
        wgpu::VertexBufferLayout {
            array_stride: std::mem::size_of::<Vertex>() as wgpu::BufferAddress,
            step_mode: wgpu::VertexStepMode::Vertex,
            attributes: &Self::ATTRIBS,
        }
    }
}
Now we can shape our pipeline to use this kind of data, by modifying out
state.rs module. In addition to creating the surface, the render device and
queue, and all the boilerplate, we can now create a render_pipeline (with a
layout).
        let render_pipeline_layout =
            device.create_pipeline_layout(&wgpu::PipelineLayoutDescriptor {
                label: Some("Render Pipeline Layout"),
                bind_group_layouts: &[],
                push_constant_ranges: &[],
            });

        let render_pipeline = device.create_render_pipeline(&wgpu::RenderPipelineDescriptor {
            label: Some("Render Pipeline"),
            layout: Some(&render_pipeline_layout),
            vertex: wgpu::VertexState {
                module: &shader,  // <--- our custom shader, explained bellow
                entry_point: "vs_main",
                buffers: &[super::Vertex::desc()],
            },
            // Other fields omitted for brevity
            // ...
        });
As to what this &shader is, its just a simple "take each vertex, take
each color, and interpolate over them" kind of shader. There are many examples
of this online and an explanation of wgsl code is left for a later article to explain.
All you need to know is that we create it by adding a ShaderModuleDescriptor to our code.
        let shader = device.create_shader_module(wgpu::ShaderModuleDescriptor {
            label: Some("Shader"),
            source: wgpu::ShaderSource::Wgsl(include_str!("shader.wgsl").into()),
        });
Finally all that's left off is to actually pass our VERTICES array to the
shader. Since we have already defined the pipeline and specified its layout
we only need to cast the data into a byte format.
        let vertex_buffer = device.create_buffer_init(&wgpu::util::BufferInitDescriptor {
            label: Some("Vertex Buffer"),
            contents: bytemuck::cast_slice(VERTICES),
            usage: wgpu::BufferUsages::VERTEX,
        });
And there we have it, a beautiful triangle. I am so glad all of these pipeline stuff was worth it.
Worth noting that some of wgpu's errors get a bit cryptic at times. This is in contrast to Rust's built in error reporting which is extremely helpful. Most of the time the former relate to layout differences on different parts of the pipeline.