Round Egg 4: Enter Bevy ECS
written by druskus
on the
1st of August 2023
The last remaining tool that we wished to use is Bevy . Bevy is a game engine built around the concept of an Entity-Component-System. To quote their definition: Entities are unique "things" that are assigned groups of Components, which are then processed using Systems. Bevy's design favors composition over inheritance, as it is common within the Rust ecosystem.
The plan is to hook our render loop into Bevy's ECS. To begin with we can set up a basic Bevy example app. We will make use of several crates and plugins to make the development process smoother.
Note that we can normally just add bevy::DefaultPlugins however, since we are
not interested in the rendering side, we decided to add only the plugins we need.
# Making Bevy work
First we will be following Bevy's tutorial .
async fn main() {
    let mut app = App::new();

    app
        .add_default_schedules()
        // Default plugins
        .add_plugin(LogPlugin::default())
        .add_plugin(TaskPoolPlugin::default())
        .add_plugin(TypeRegistrationPlugin)
        .add_plugin(FrameCountPlugin)
        .add_plugin(TimePlugin)
        .add_plugin(TransformPlugin)
        .add_plugin(HierarchyPlugin)
        .add_plugin(DiagnosticsPlugin)
        .add_plugin(InputPlugin)

    app.run();
With the plugins in place we can also add systems to our app. This is what a system looks like:
fn hello_world() {
    println!("hello world!");
}
And it can be added to our app as follows:
app.add_system(hello_world)But we also want to interact with some components, to demonstrate, we created
components Person and Name. Note that components could have attributes as
they are simply structs, so Name could have been an attribute of Person.
#[derive(Component)]
struct Person;

#[derive(Component)]
struct Name(String);
Finally we create some systems to interact with our components. First a startup
system that will run once, which will be responsible for introducing some
People entities to our world. Then a greet_people system that will simply print
the name of all the people we have added.
fn add_people(mut commands: Commands) {
    commands.spawn((Person, Name("Elaina Proctor".to_string())));
    commands.spawn((Person, Name("Renzo Hume".to_string())));
    commands.spawn((Person, Name("Zayna Nieves".to_string())));
}

fn greet_people(query: Query<&Name, With<Person>>) {
    for name in &query {
        println!("hello {}!", name.0);
    }
}
The systems then are added to our app as follows:
    app
        // ...
        .add_startup_system(add_people)
.add_system(greet_people);hello Elaina Proctor!
hello Renzo Hume!
hello Zayna Nieves!# Connecting Bevy to our rendering code
For now we were simply following the Bevy docs to get a feel for how it works.
Now we will attempt to connect it to our render loop. First we start by
refactoring our code into Renderer, State and Window structs.
#[derive(Debug)]
pub struct Renderer {
    pub surface: wgpu::Surface,
    pub device: wgpu::Device,
    pub queue: wgpu::Queue,
    pub config: wgpu::SurfaceConfiguration,
    pub size: winit::dpi::PhysicalSize<u32>,
    pub state: State,
}
#[derive(Debug)]
pub struct State {
    pub render_pipeline: wgpu::RenderPipeline,
    pub vertex_buffer: wgpu::Buffer,
    pub index_buffer: wgpu::Buffer,
    pub num_indices: u32,
}

#[derive(Debug)]
pub struct Window {
    pub event_loop: EventLoop<()>,
    pub winit_window: winit::window::Window,
}
The implementation of this structs is based on the code shown in previous posts, slightly refactored and better organized.
impl State {
    // sets up the pipeline and buffers for our fragment and vertex shaders.
    fn create_with_device(device: &wgpu::Device, texture_format: wgpu::TextureFormat) -> Self { /* ... */ }
}

impl Renderer {
    // configures the device, queue, window and surface
    pub async fn new(window: &winit::window::Window) -> Renderer { /* ... */ }
    // Configures the render pass and launches it
    pub fn render_pass(&self, ecs: &World) { /* ... */ }
}
Our new render_pass function has some modifications:
  pub fn render_pass(&self, ecs: &World) {
    dbg!("render pass");
    // ...
    {
        let mut render_pass = encoder.begin_render_pass(&wgpu::RenderPassDescriptor {
          // ...
        });

          // Instanciate the pipeline and buffers
          render_pass.set_pipeline(&self.state.render_pipeline);
          render_pass.set_vertex_buffer(0, self.state.vertex_buffer.slice(..));
          render_pass.set_index_buffer(self.state.index_buffer.slice(..), wgpu::IndexFormat::Uint16);
          render_pass.draw_indexed(0..self.state.num_indices, 0, 0..1);
      }

      // Submit the work
      self.queue.submit(std::iter::once(encoder.finish()));
      output.present();
  }
This render_pass method is still called on winit::Event::RedrawRequested.
fn process_window_event(
    event: Event<()>,
    control_flow: &mut ControlFlow,
    renderer: &Renderer,
    app: &mut App,
    winit_window: &winit::window::Window,
 ) {
     let ecs = &app.world;
     match event {
         // ...
         Event::RedrawRequested(_) => renderer.render_pass(&ecs),
         Event::MainEventsCleared => {
             app.update();
             winit_window.request_redraw(); // TODO: only if the state changes
         }
        _ => (),
     }
}
And finally we need to connect the pieces together.
async fn main() {
    let window = Window::new();
    let renderer = Renderer::new(&window.winit_window).await;
    let mut app = App::new();

    /* ... */

    window.run(renderer, app);
    app.update();
}
With this we can see the result:
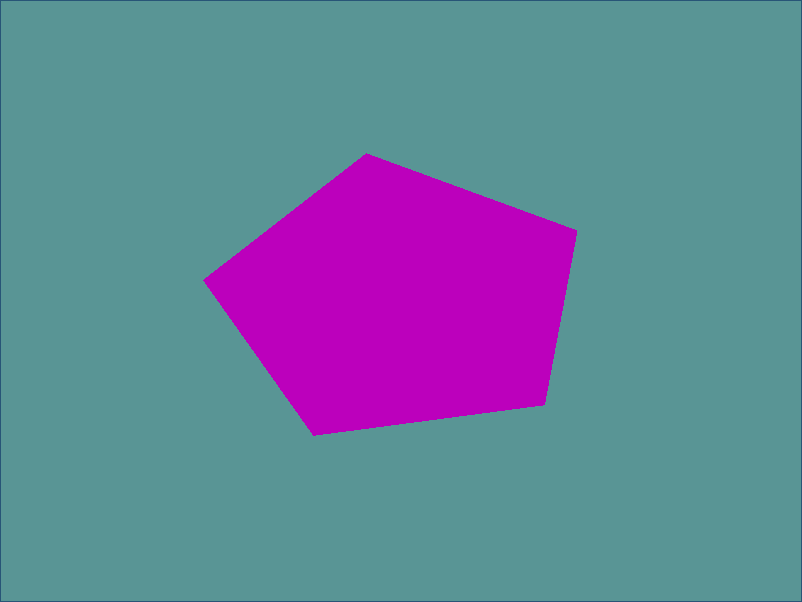
We should also see that our program outputs render_pass in a loop, as it gets printed each new redraw.
Yes, in the meantime we changed our triangle to be a pentagon. It looks cool. But yes, you might have noticed there were really no visual changes yet. We simply managed to connect Bevy to our rendering code.